Photoshop - Human Cloning Project
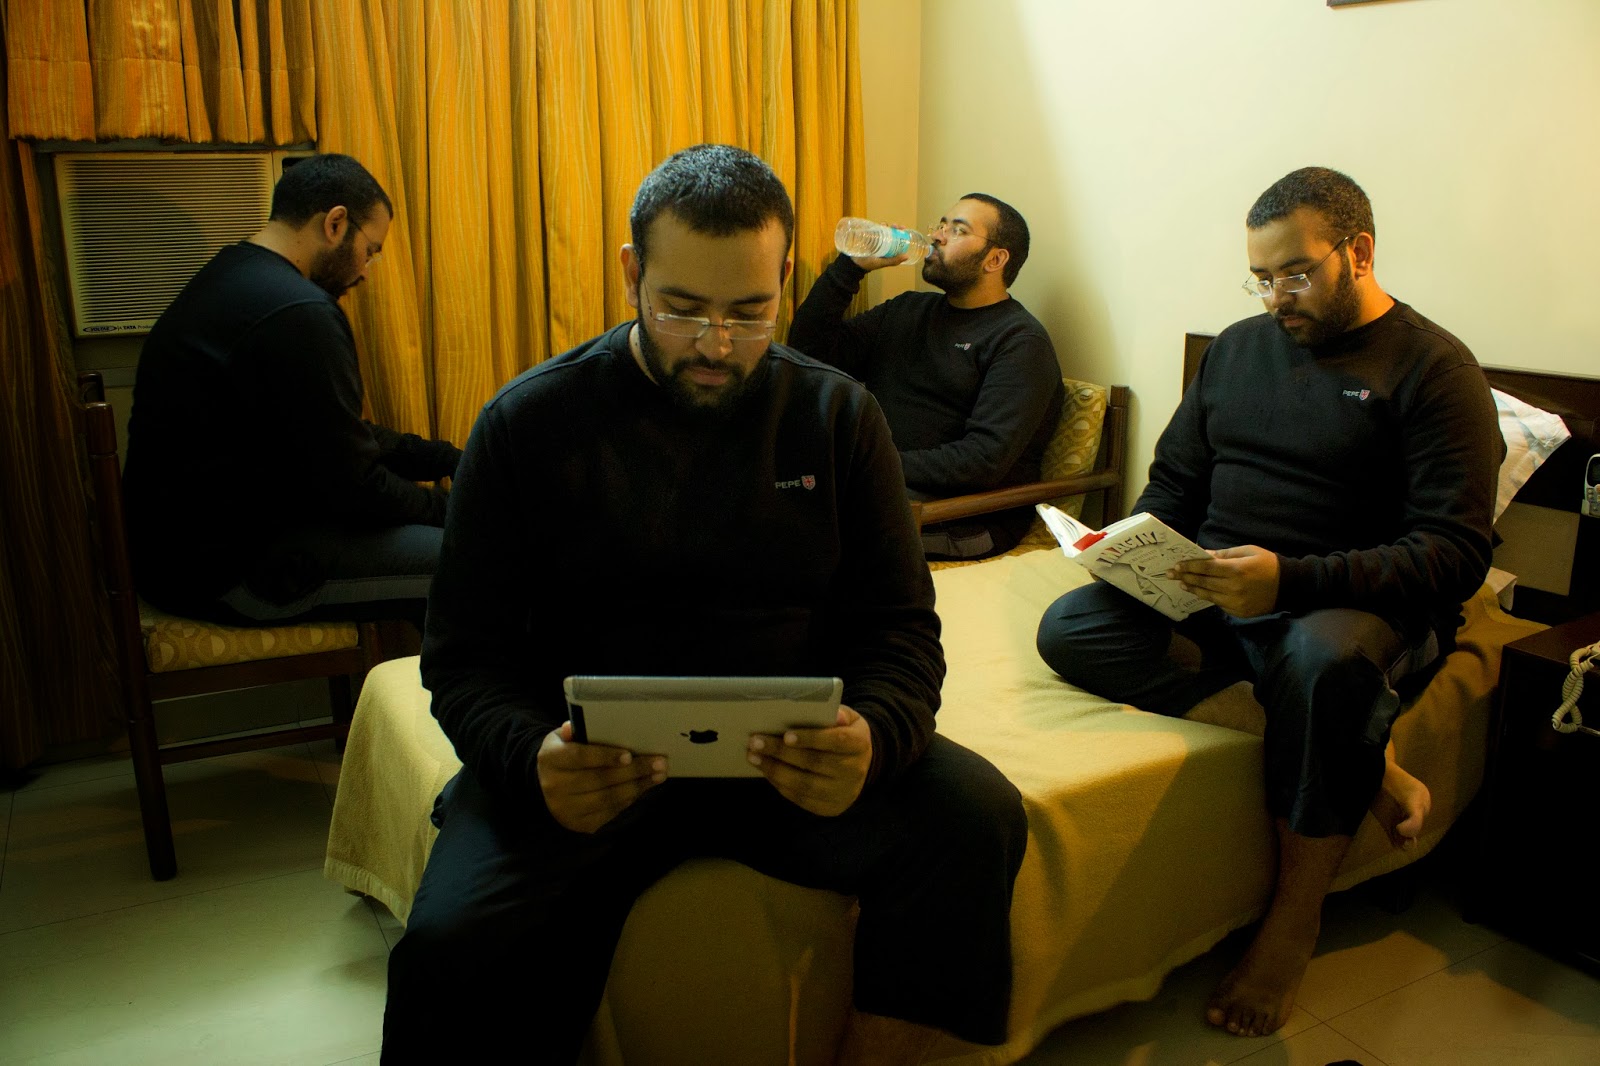
A few days ago I posted this picture of myself on facebook
Loads of people asked me how I did this so I decided to make step-by-step a tutorial. It is ridiculously easy. I was going to do a video on this but then decided against it as it would have taken a lot longer and currently I don't have that much time at hand. I'm quite busy with the work @ Mistri Labs
Step 1:
Setup your camera. You will need camera where you can set exposure manually (Aperture Priority and Shutter Priority will not work too well in this case as the light will vary was the subject moves in the frame). Most P&S and DSLRs have this feature. Even a decent phone camera should work (You might need to download an extra app to set the manual exposure on your phone). You will need a tripod (or any surface that you can place your cam on if you don't have a tripod).
- Setup the ISO - Don't use auto because the light changes as you move around the room.
- Setup the aperture - For all the people using DSLRs don't go all f/1.8 because you need most of the shot to be in focus. I suggest start at f/7.1 and work around that area.
- Setup the shutter speed that you think gives you the correct exposure.
Now you need to take 3-4 shots (maybe even more depending on what you are creating) of your subject (In my case that was me) from the same vantage point. You camera should not move between shots. I used a timer to shoot these but if you have a friend behind the camera you can ask them to do it - depends on you.
Image 1
Image 2
Image 3
Image 4
Step 2: Open all photos in Photoshop and put them in different layers inside the same composition
Step 3: Select the second layer from the bottom and create a layer mask
Step 4: Keep the second layer from the bottom of the stack selected. Hide all the layers above it using the eye icon. Select brush tool, select the colour black. Paint in the version of your self from the lowest layer in the stack.
Step 5: Repeat Steps 3-4 for each layer and you are done.
Tips :
- Don't do this in areas that change over a short time (Example - in front of a tree as the wind might change the shape of the tree from shot to shot).
- Don't do this in areas that the light changes often (Example at a sunset scene)
- Don't move too much furniture around as you will have to Photoshop those things around. Will waste your own time.
- You could change clothes in between shots to give a more random feel to the image.
Have fun :-)


